Before Starting with this process, ENSURE that anything was constructed by Build Path, check Referenced libraries and ENSURE that its empty or doesn't exist. Then you can proceed.
So, we got Hibernate installed in the eclipse IDE. In the following order, the classes need to be created:
- First class is the Hibernate Config File.
- Second class is the Console Configuration.
- Third one is the Reverse Engineering File.
- And finally the forth one, the Hibernate Code generation Configuration.
First class
Now’s configuration time. First, on our Java Project we create a new Hibernate Configuration File, the following UI will be displayed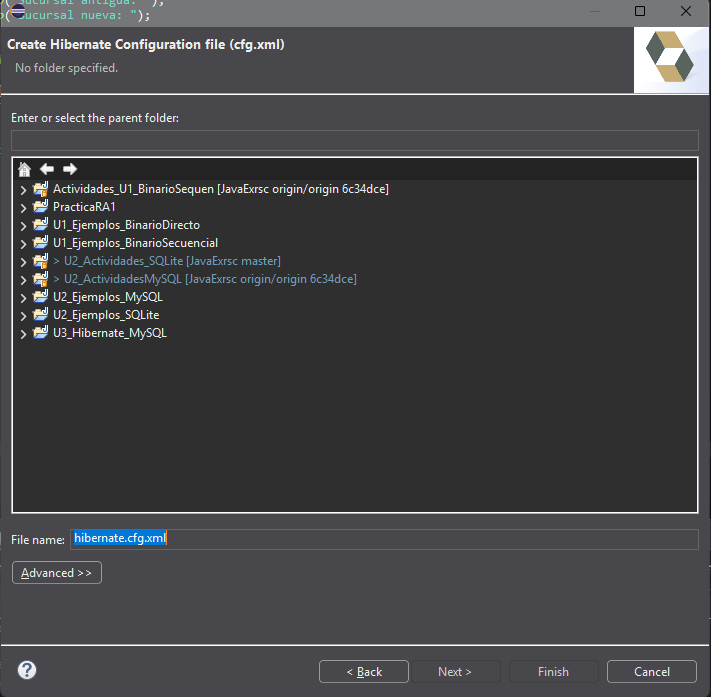
Here we define where the cfg File is gonna be located at. Am gonna save it in “U3_Hibernate_MySQL” ⇒ src
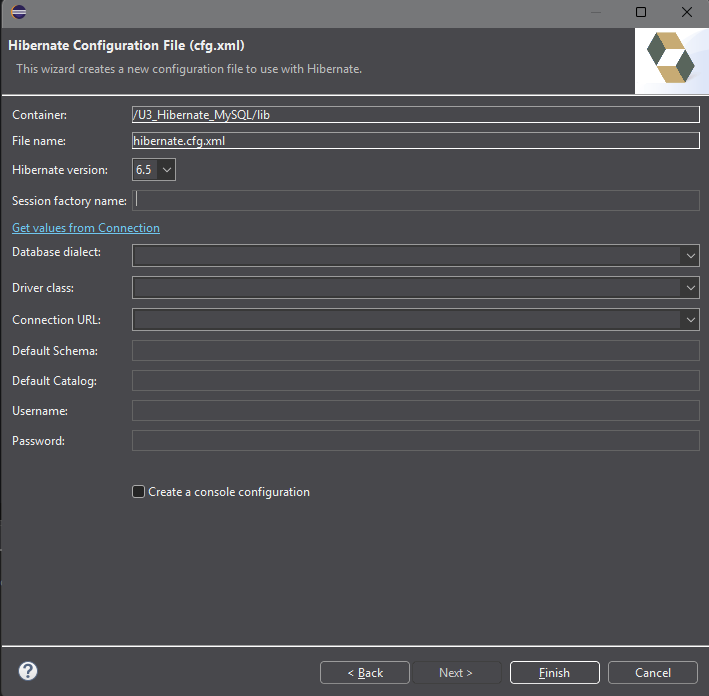
In here we fill up this camps:
- Session factory name → Any name you want
- Database dialect → MySQL
- Driver Class → the driver’s class name “com.mysql…“.
IMPORTANT you need to modify the driver class by adding this 2: cj, should be looking like this: com.mysql.cj.jdbc.Driver
- Connection URL → jdbc:mysql://localhost/<YourDB/>
- Username → root
- Password → root
Second class
In this window, we need to fill the following field:
- Name: we need to give a name to our file
- Project: this field will be filled automatically.
- Database: We need to specify or create a new connection.
- And finally ensure that the field Configuration File shows the path to the configuration file that we created before here.
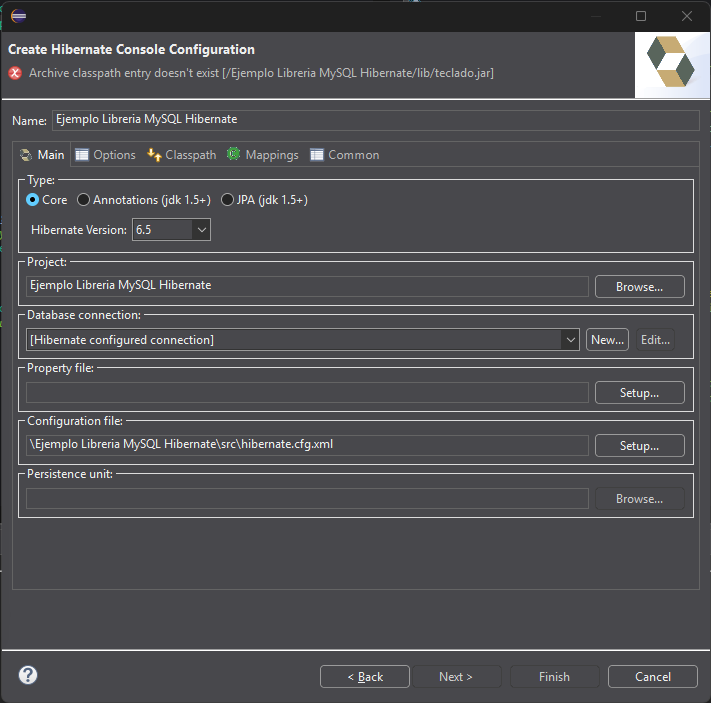
If we don’t have a database connection configured, we create a new one, click on New
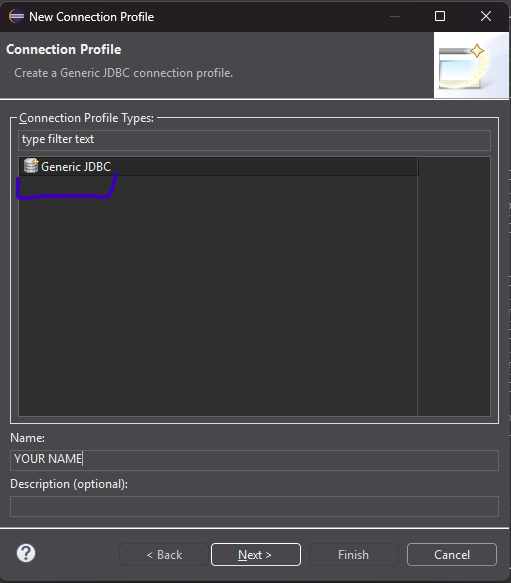
This window will show up, select the GENERIC JDBC connector and down bellow name your connector as you like.
Now SPECIAL ATENTION this step is one of the most important ones, follow up as close as you can.
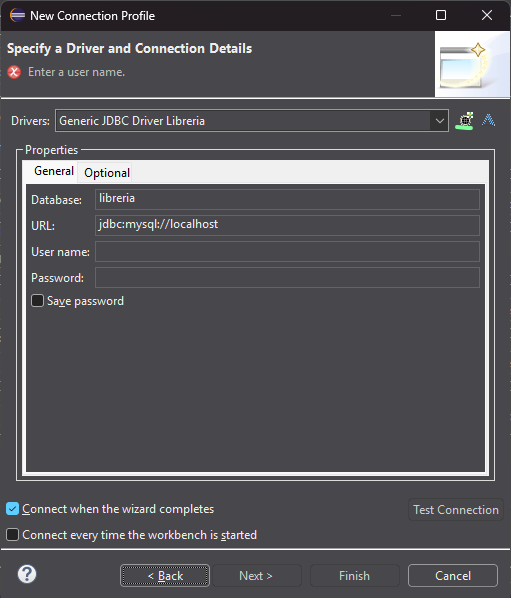
After giving the connector a name, and clicking on Next, this window show up, here we configure the connector, username, password and everything Hibernate needs to work.
First click on that icon called new driver definition, it is also underlined in green
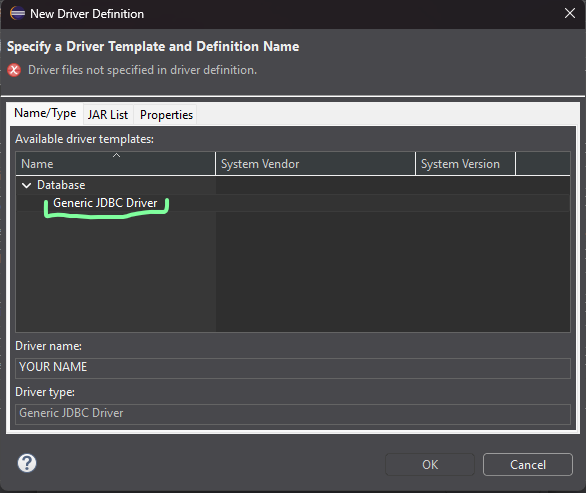
This window will appear, here we need to select the Generic JDBC Driver and we name it as we like. Next we move to the tab JAR List
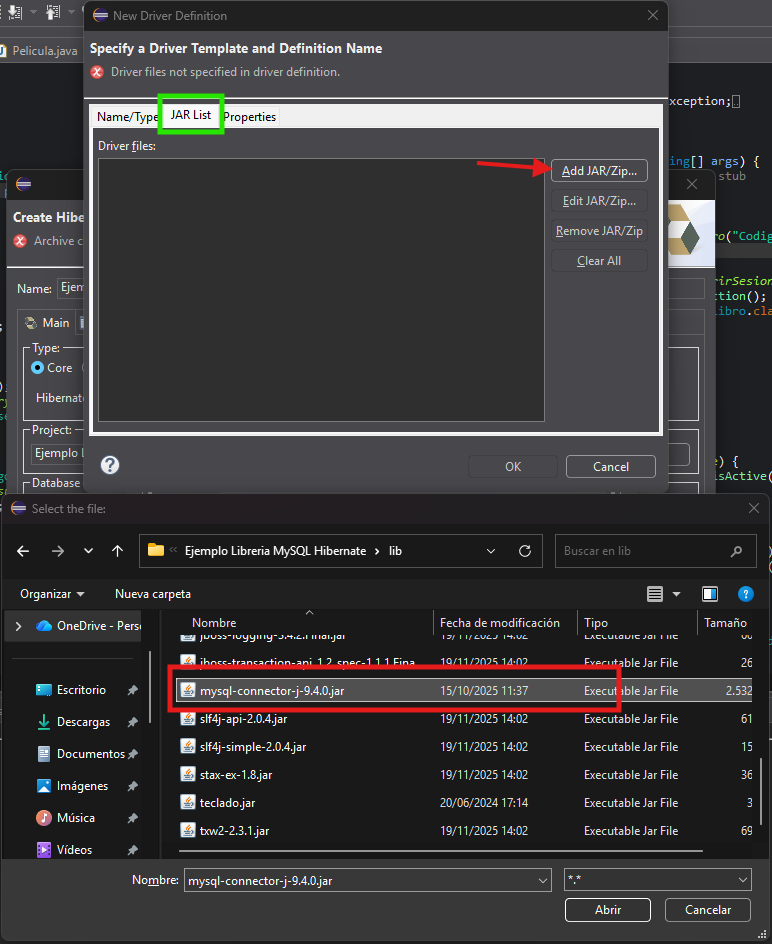
In this tab we will select the .jar file of the connector of the database. In this screenshot its shows better with colors.
Next up, is heading to Properties tab, beside JAR List, and here we need to fill the 4 fields, all of them. So, we need to fill:
- Connection URL, which is ⇒ jdbc:mysql://localhost.
- Database name, here you type your database’s name.
- Driver Class, here we don’t need to type anything, we click on the three dots, in the left window we click on browse from class and select the driver.
- User ID, here we need to specify the user owner of the database, in my case is root.

if we have done things good as explained, in this window we need to specify the username and password of the database owner, then click on test connection.
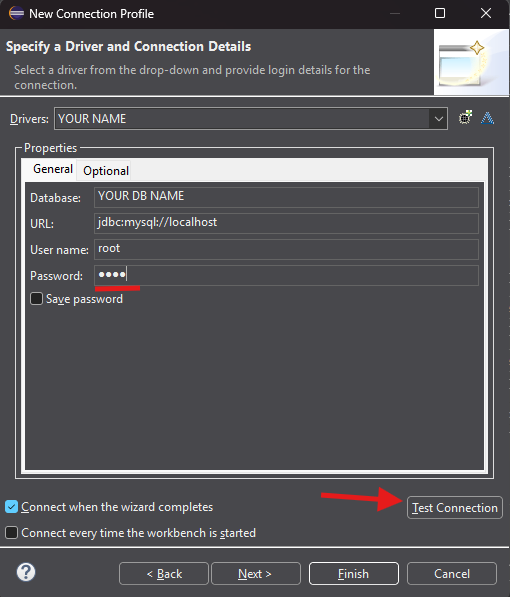
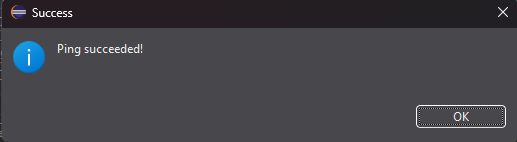
SUCCESS!
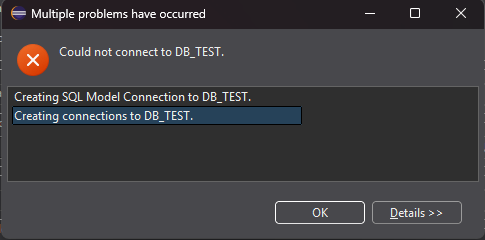
If you got any errors while testing connection, check your connector, driver, driver class and ensure everything is ok.
Now we click on Finish.
Click in ok while selecting the second one, by default it came selected. Now we good.
Third Class
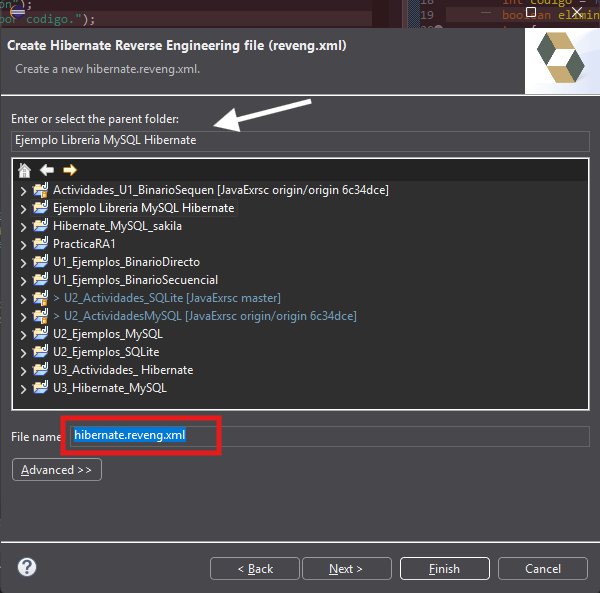
The third class is the reverse engineering, this file is the one that is gonna hold all the tables of our database.
Here we specify the path where the .xml file is gonna be located and name the file, in my case i leave the name as it is. The file should be in src folder.
 Now we need to specify the configuration file, then click on refresh (White arrow), and then we will see all the schemas that our database has. We select our schema and then we include every single field of our schema. Like this:
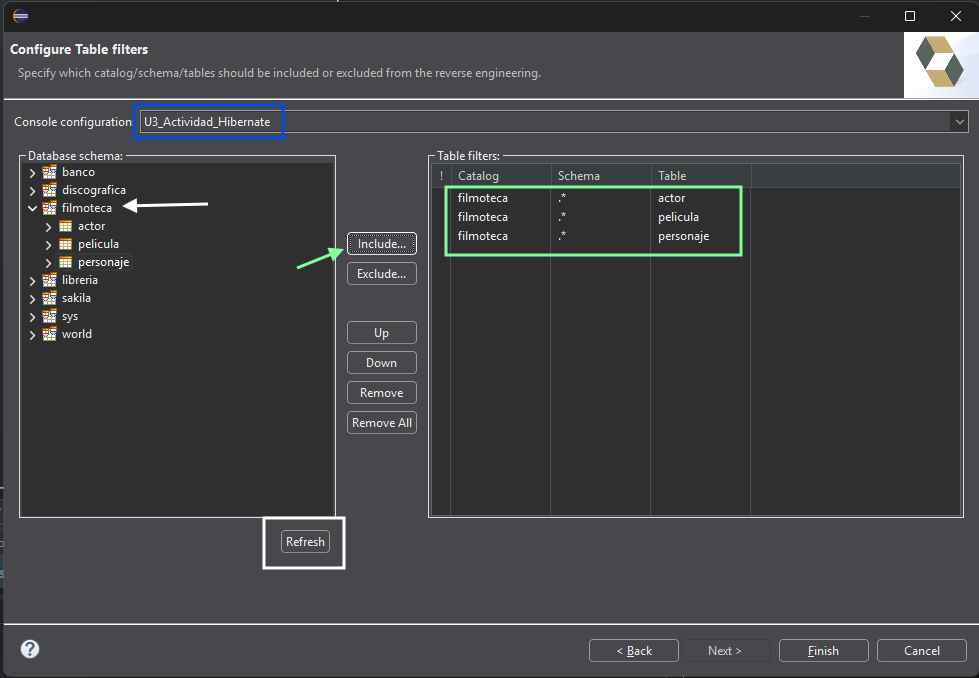 Then click on finish and the xml file should display automatically proving we are on the good path.
Fourth Class
Alright, final step, the Code Generation. This step will generate all the classes and the mapping relations between the classes and the tables of the DB. This step is where everything we did previously will be used and tested, if we did all the step good, this step should be the easiest one of ‘em all.
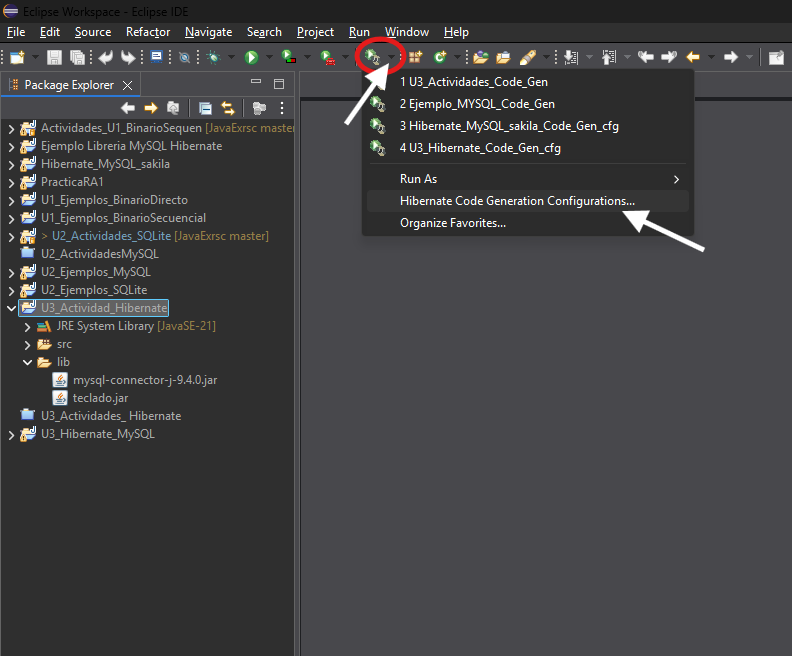
In the tools bar of Eclipse, search for the Hibernate Run Button the one marked in the picture, click on the tiny black arrow the one marked by the White arrow in order to deploy the options menu, the we select Hibernate Code Generation Configuration.
This window will pop up, here we create a new Launch Configuration by clicking in the icon marked by the Red Arrow. We fill up the followed fields:
- Name: we name our file.
- Console Configuration: We must specify the path where the configuration file is located.
- Select the option Reverse engineering from JDBC Connection.
- Package: we name the package that hibernate will generate.
- reveng.xml: specify the reverse engineering file that hibernate will use. In the next steps will break it down.
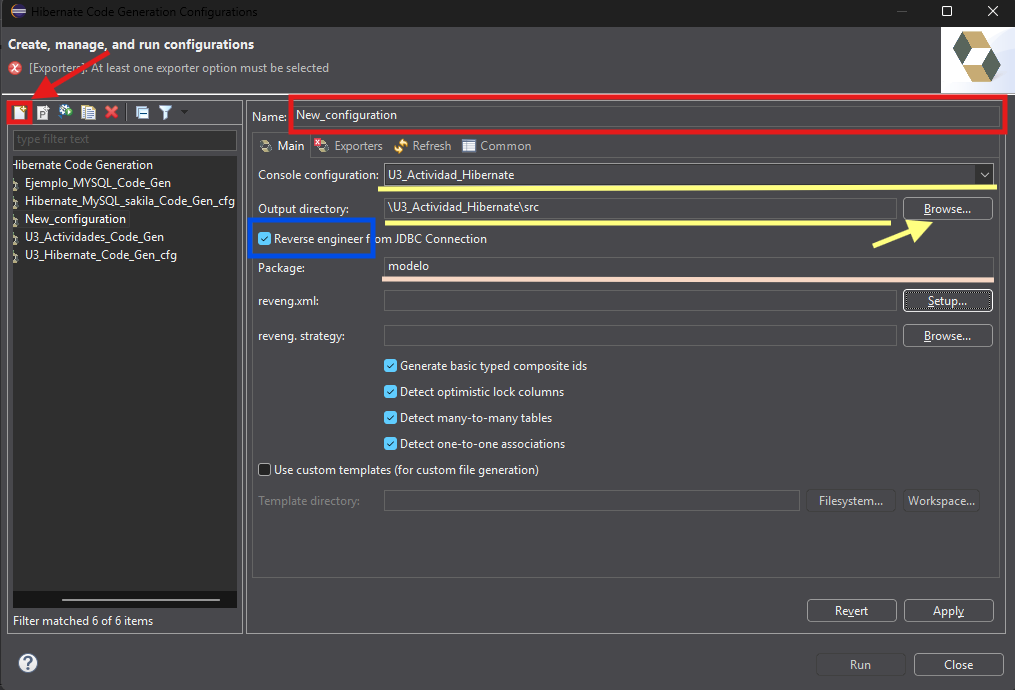 Now, we click on Setup_ to specify the reveng.xml file.
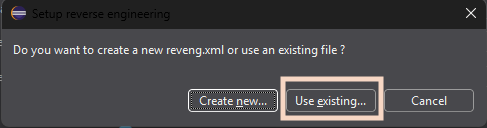
This window will pop up, click on use existing, then
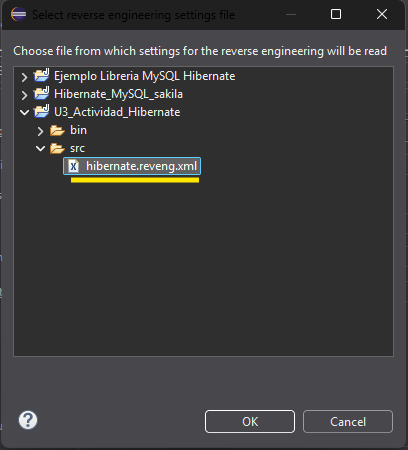
 browse to the file location and select it, then clock ok.
 Good, we are at one small thing to finish the process, we go to the Exporters tab and we select the following things:
- Java 5 Syntax
- Domain Code
- Hibernate XML Mapping
- Hibernate XML Configuration
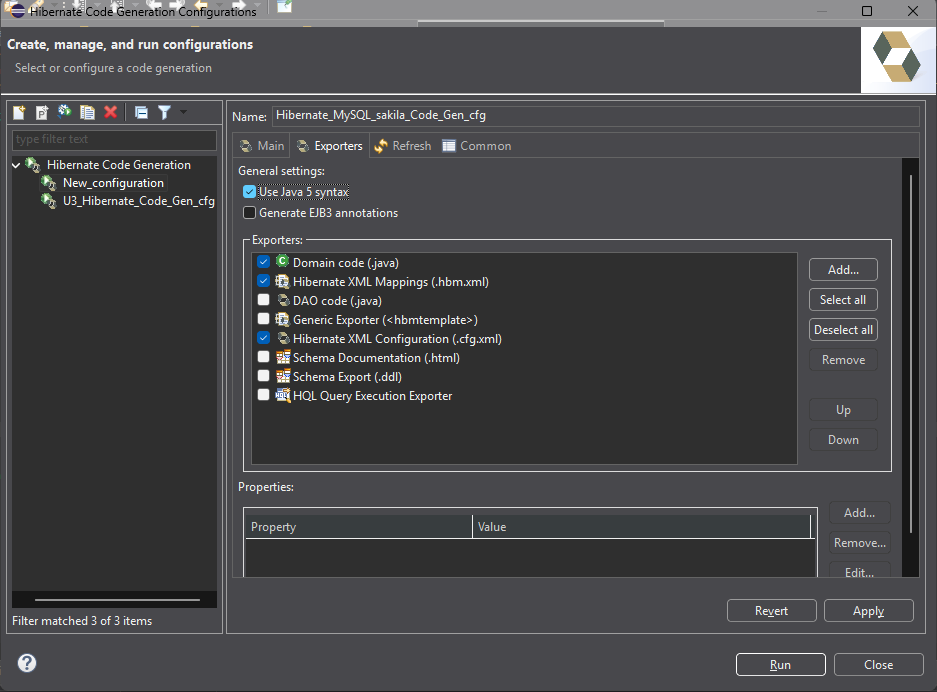
WE DONE!