So in order to be able to push and save our Java projects on GitHub, follow up closely.
First we gonna open the “Git Repositories” view by going to “Window” → “Show View”
→ “Other”
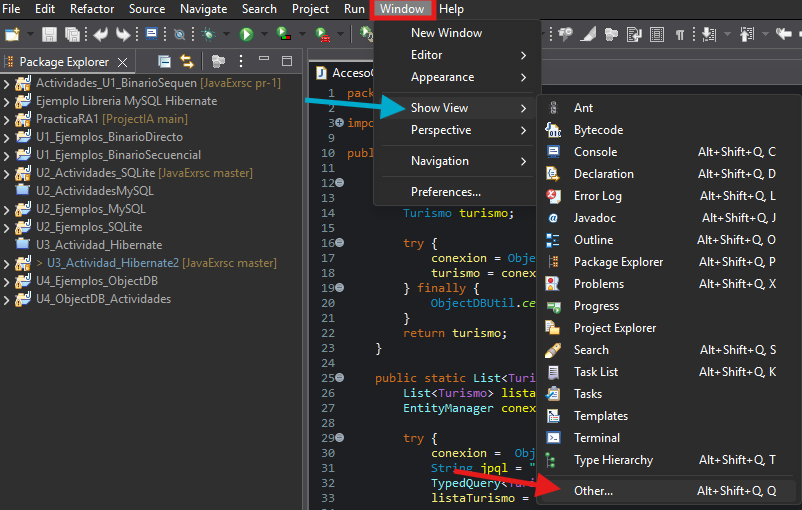
“Git” → “Git Repositories” , then we open it
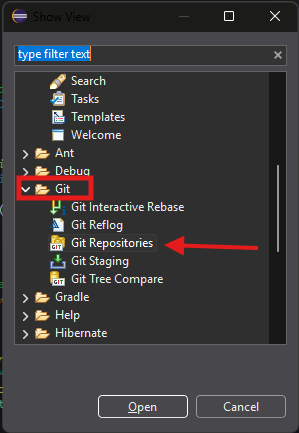
A window like this will be shown beside console view, there we clock on the “Clone Git Repo” icon which looks like a cloud and a cylinder with a green arrow,

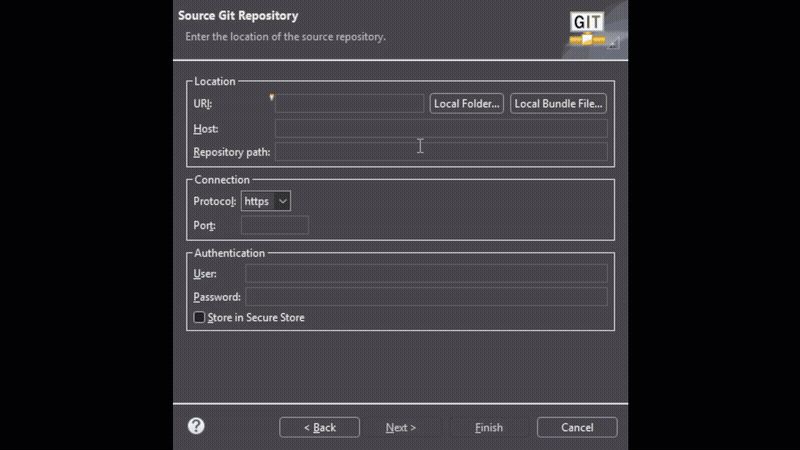
This window will pop up, giving you the choice of cloning your repo by 2 different ways.
These options are:
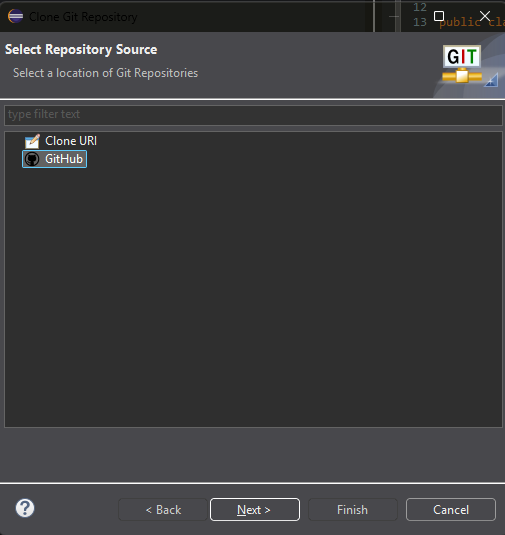
-
Clone URL:
This option will clone your repository via URL, then it will ask you to authenticate yourself and then you need to choose which branch you gonna sync with.
Here you need to fill up just the undermarked fields because some fields are gonna be auto-filled when you input the URL.
-
GitHub:
This option is viable only if your repository is Public, else, it will not work. Its as simple as choosing the language of your project in GitHub and then searching for it by name, like this: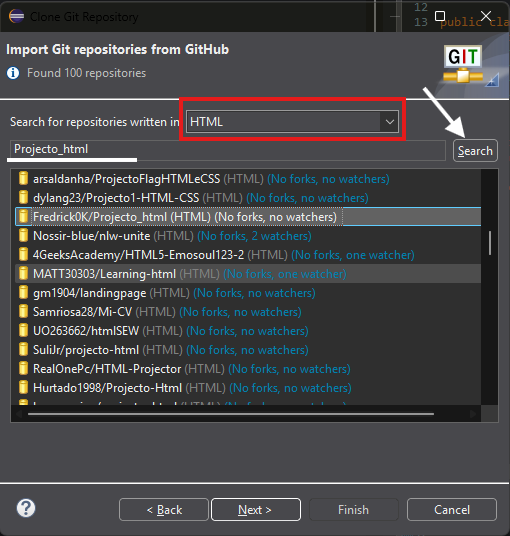
Here you can see that i did searched for my repository. The repositories found will be named first by the owners name, then the name of the repo itself then between parenthesis the language used in the project.
The project needs to be PUBLIC if you wanna work with this option, else, nothing will be displayed when you search for the repo.
Here am going to use the URL Cloning because my repo is Private. So first step is copying our GitHub repo URL,
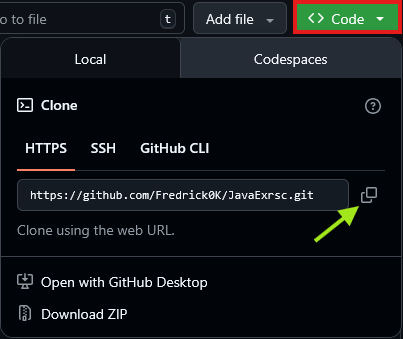
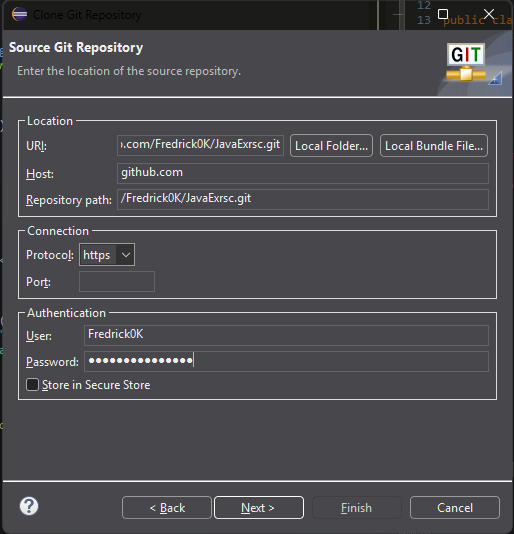
Then we paste the URL in the right field and automatically almost everything gonna be auto-completed
If you have 2FA (2 Factor Authentication) logging in by just the password may not work, so you need to use a Token instead, its quite simple, watch closely:
Token Generation
-
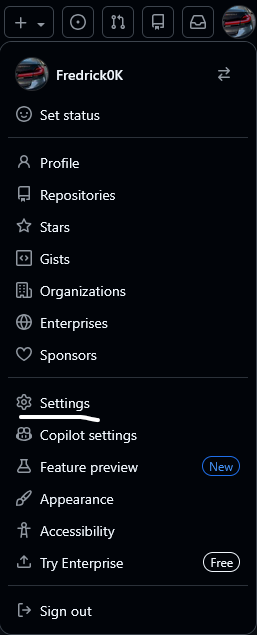
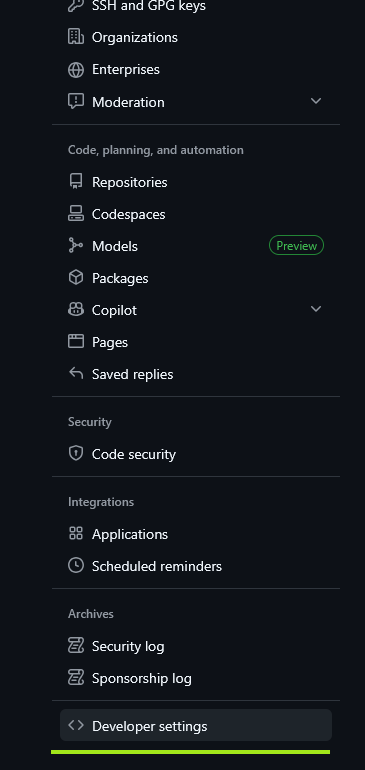
We go to GitHub → Settings
-
Scroll down to Developer Settings
-
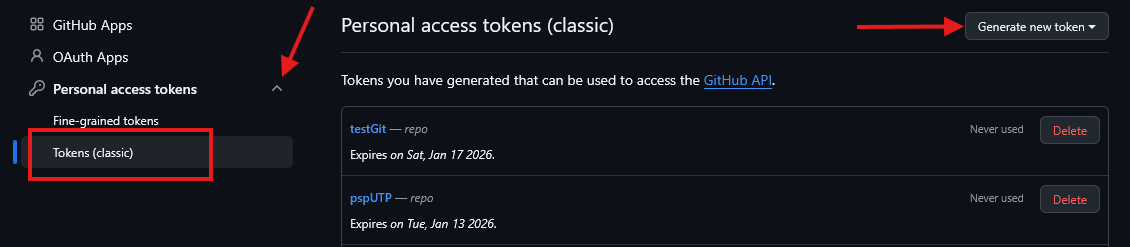
Click on Personal access Tokens → tokens (classic) → Generate new token
-
We are gonna create a classic token

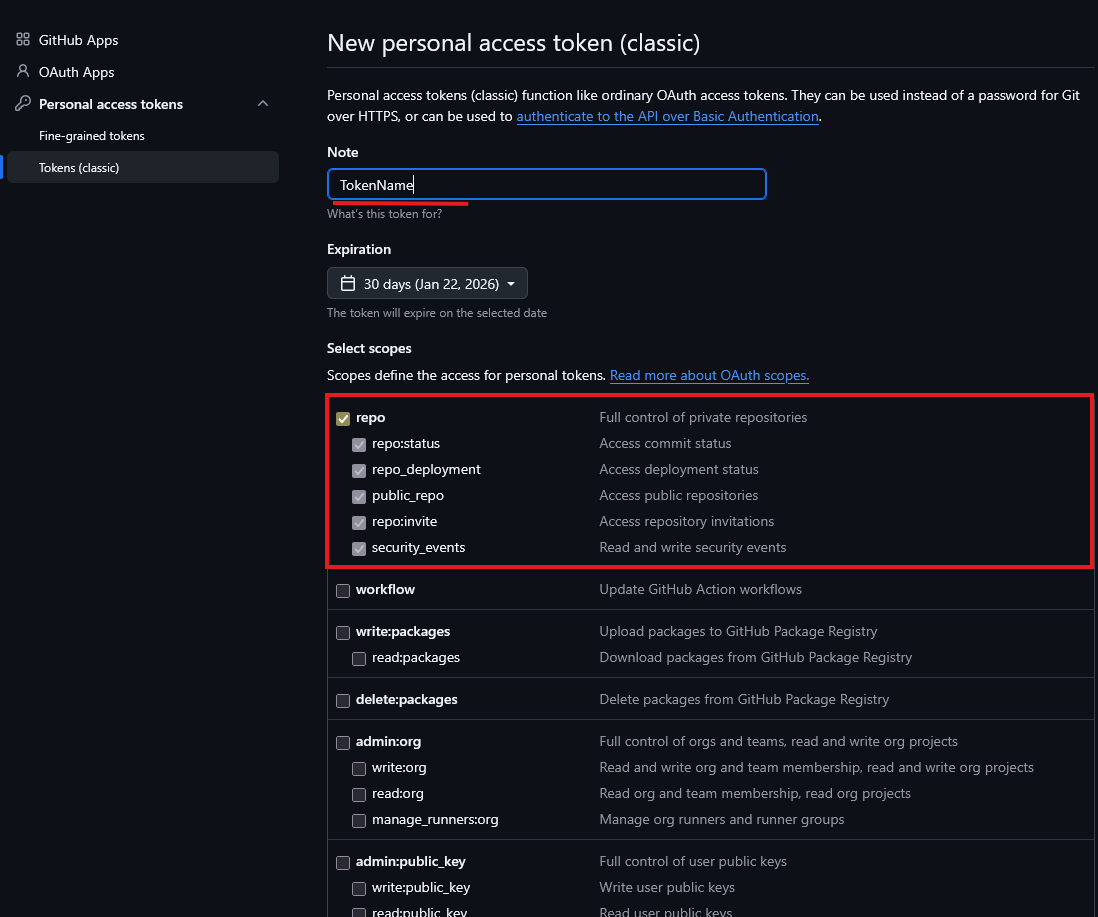
Then you will need to authenticate yourself. After that, it will open a page like this one in the screenshot, here you are gonna configurate how the token is gonna be used or for what and giving it a name. We gonna need just the “repo” privileges. Also you can change the expiration date of the token in the “Expiration” field.
Now a token like this one will be shown, make sure you have a copy of it because this token aren’t gonna be shown ever again.

Now we have the Token and we can clone our repo in Eclipse, lets continue.
Now this token we will use it as our password for the repo we are about to clone
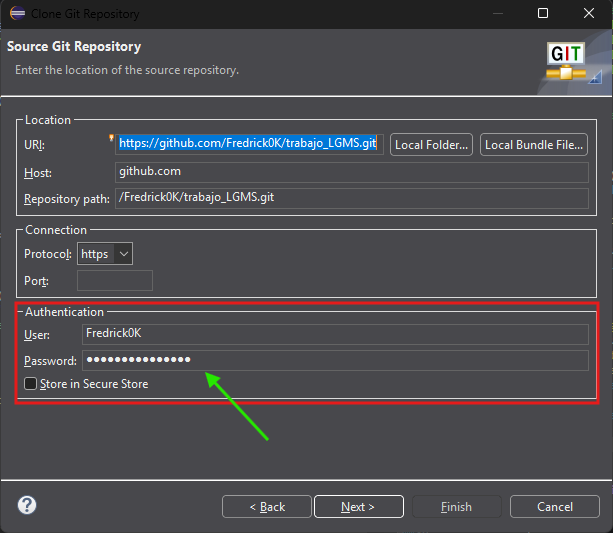
In “Password” we paste the token, next up is the “Branch Selection”
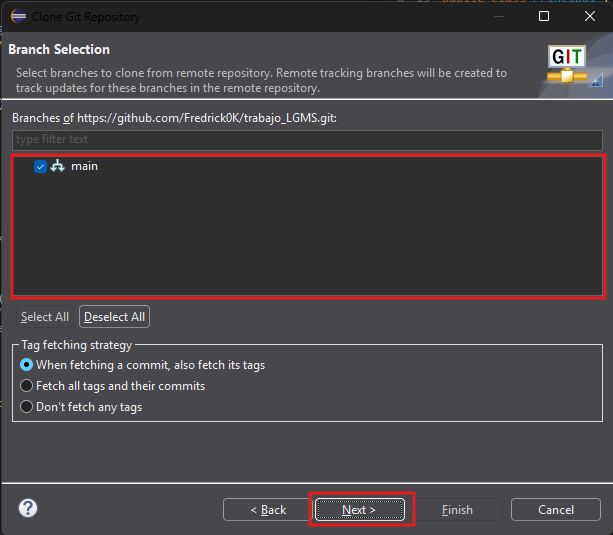
Here we select the branch we are gonna work with, i have just one branch, the default one, so next up is setting up the “local destination”
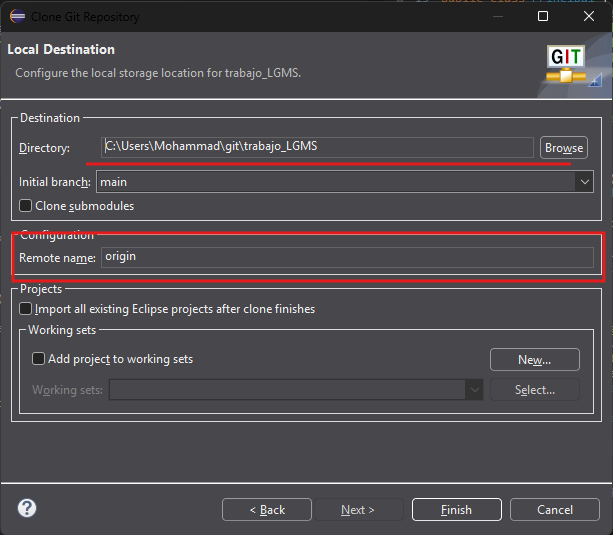
Here we can set the path where the repo is gonna be located at, also we can set a name our Remote. I like to leave it as it is and then click on Finish
And Here it is!!
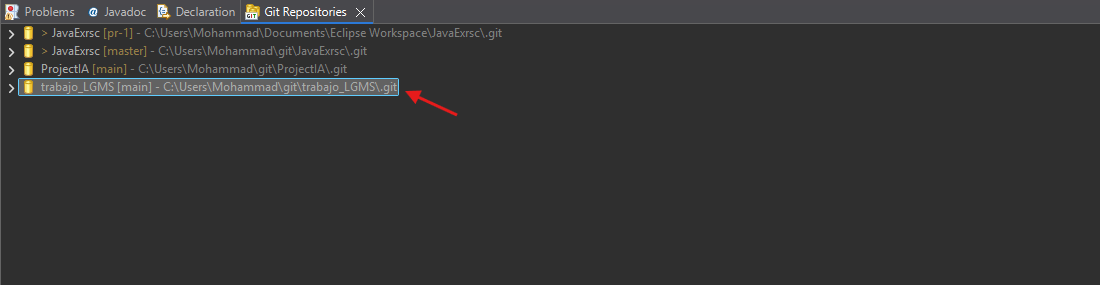
Yessir we got it!!!
Next thing is Uploading our project to GitHub