Now we have done the Git installation and preparing Eclipse, next thing is actually syncing the project with GitHub. Lets do this!
First, we do right click on our project that we want to upload to GitHub, we search for
“Team” → “Share Project”
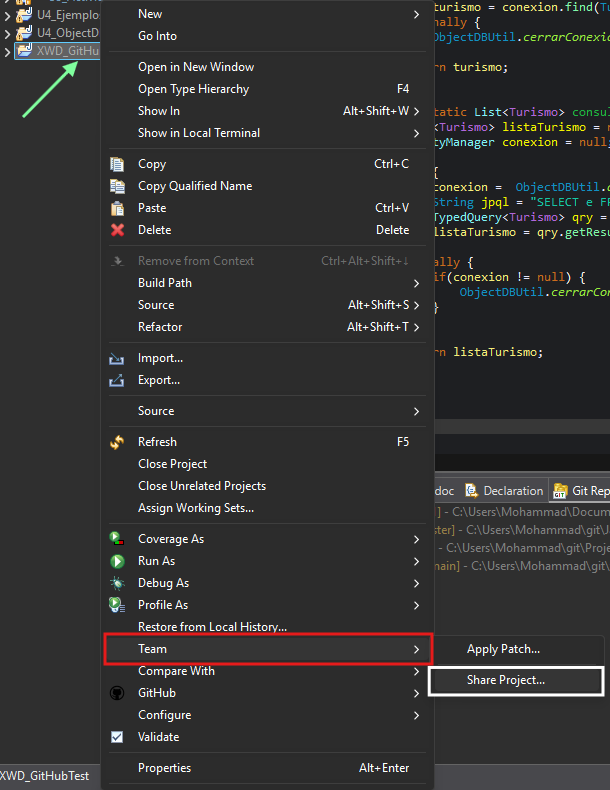
A window like this will pop up, here we select our previously cloned repo and we click on Finish.

And like that we have our project linked to the repo. You can see the right text its says the actual connected repo and the working Branch

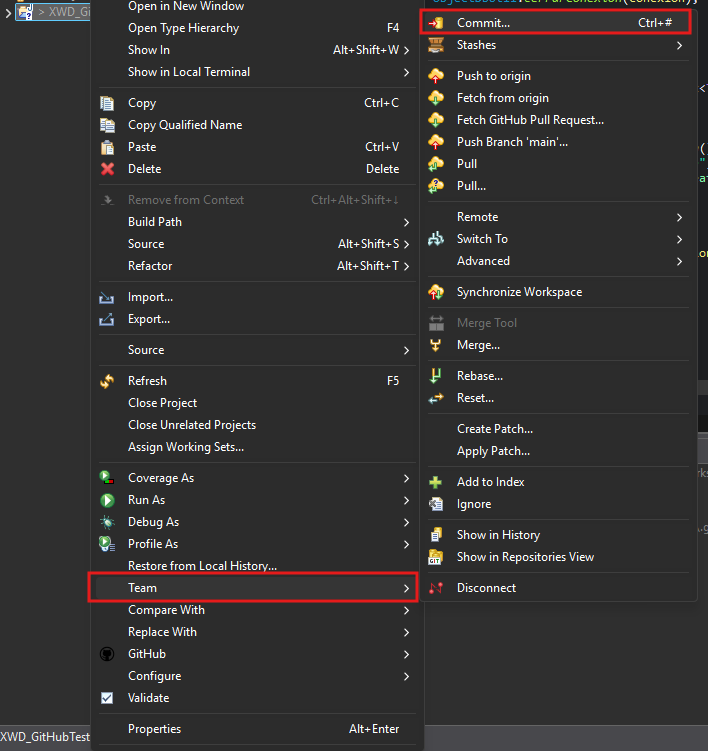
Now we need to commit and push in order to save our project on that repo.
So first we do right click on our repo → “Team” → “Commit”
Beside the “Git Repositories View” a new view is gonna open, called “Git Staging”, it looks like this.

Here we click on “Add all Files…” to Stage the Changes, in the left red box is the Commit Message. When we are done, click on Commit And Push in the left bottom corner.
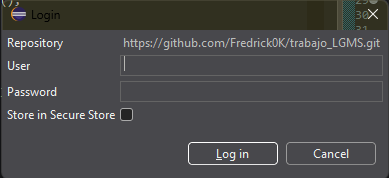
A window like this will pop up, we need to log in again with the Token.
When you “Log In” this window will show telling us the changes are committed and Pushed successfully
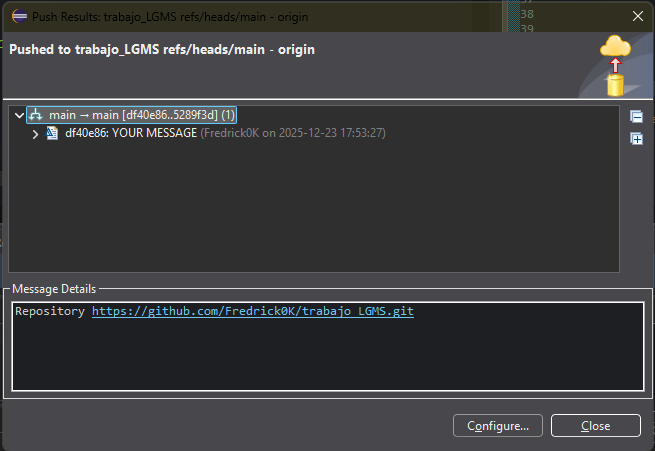
We can see the project uploaded by going to the repo on GitHub.
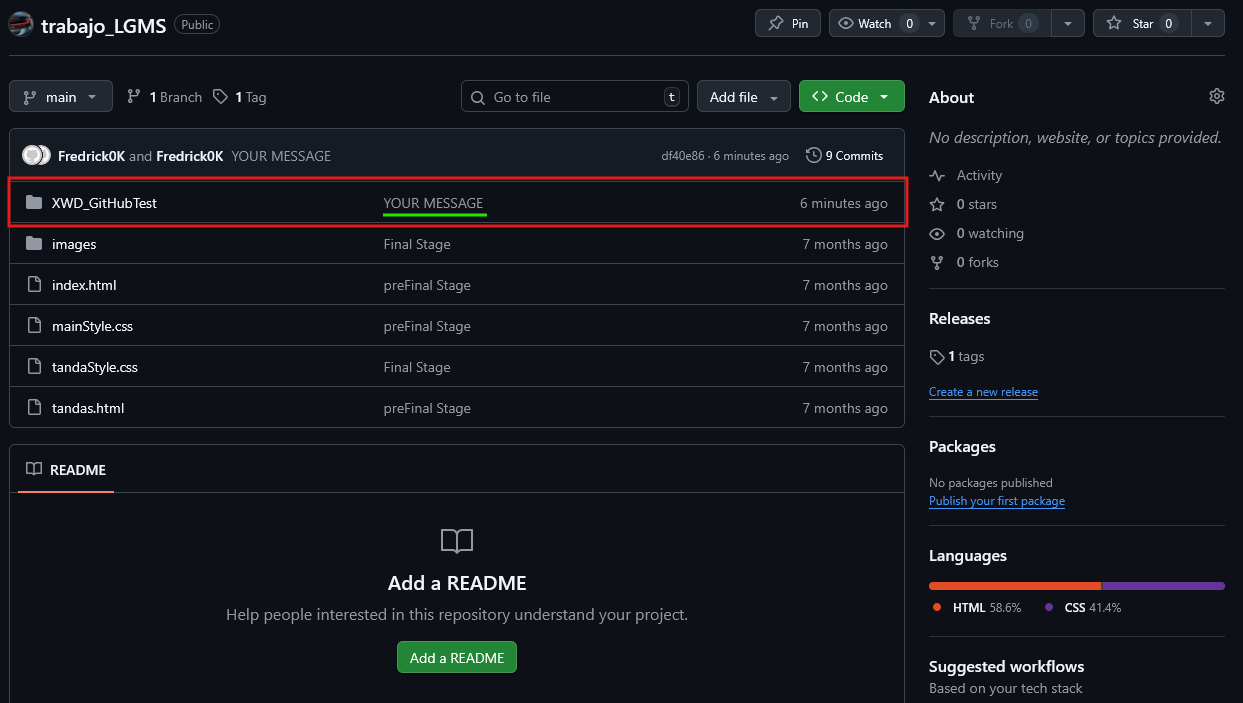
Congrats! Now your project is on GitHub!!